Form Customization
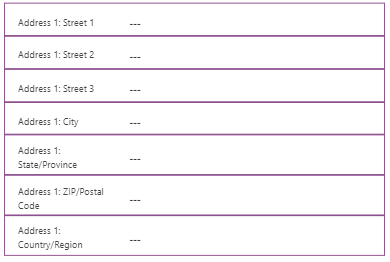
To begin, open the form editor you wish to add PredictiveAddress onto. The PredictiveAddress custom control does not work with composite fields. This is a restriction placed by Microsoft so you will need to replace the composite fields with the unique fields instead. You will know if it’s the composite grouping because when you select line 1, the complete address will be highlighted like so:
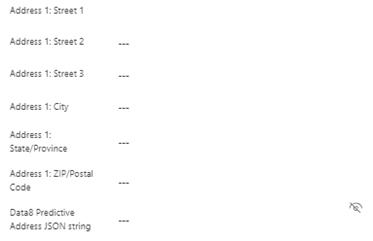
Remove the composite and add the fields one by one instead.
This is how it should look – note you may have different address fields and this is fine.
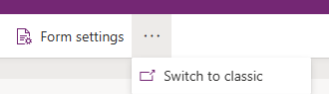
Due to the advanced configuration of the custom control, the maker portal cannot currently be used to assign the control to the form field which means you will have to switch to classic.
This control can be added onto any address field, but the most common fields would be the address line 1 or postcode this just depends on your preference. Once you have decided on a field to add the control to, select it and apply the “Predictive Address Control V2” control.
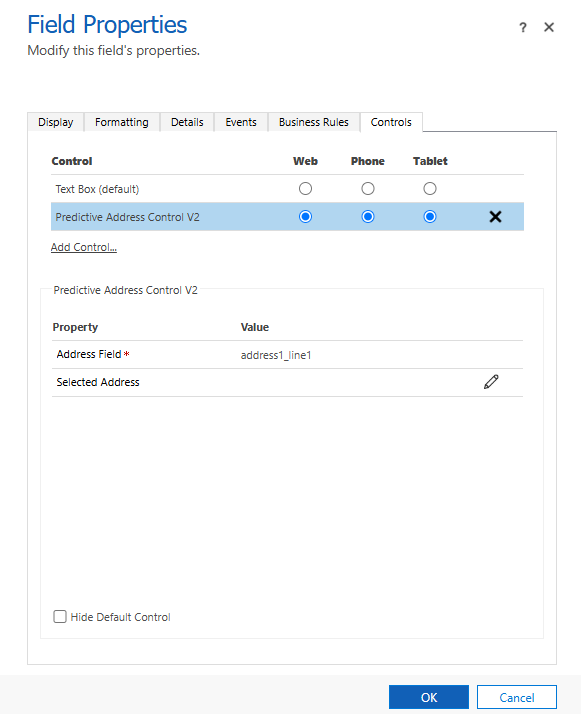
After adding this component to a field, the PredictiveAddress popup will now start working – however it will not correctly populate the results quite yet. To do that, please follow the next section.
Making Results Persist
In order to populate address fields when you have a selection using Data8 PredictiveAddress, you need to make a few more form tweaks.
- Add “data8_ppredictiveaddress_mapaddres.js” to the form
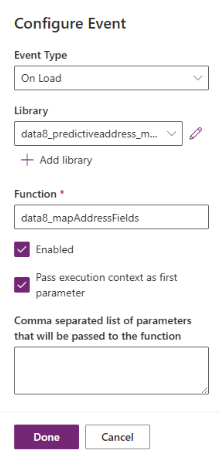
- Add an ‘On Load’ Event Handler to the form – the function for the event handler is called “data8_mapAddressFields”. Ensure the “Pass execution context as first parameter” option is ticked.
- Save, publish and close.
After all these steps are completed, your address should start auto populating. Please see the next section, Checking Form Progress, if you are having configuration issues.
Checking Form Progress
Once you have completed the steps outlined above, you can check that your form has been configured correctly by returning to the configuration and page and navigating to the “Form Configuration” tab.
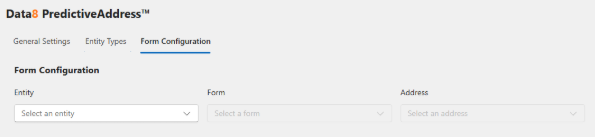
From here you can select an entity, a form, and an address from the dropdowns and the automated checks will provide a list of errors and steps yet to be completed, if any have been missed.
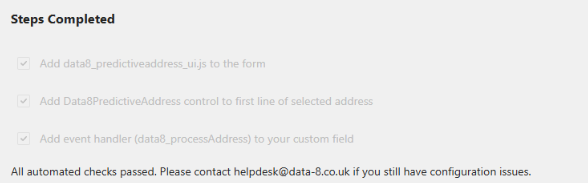
If all automated checks pass and you still have configuration issues, please contact [email protected]