Home » Resources » How-to Guides » Shopify Installation Guide
Shopify Installation Guide

Find Data8’s Shopify Installation Guide here to get started with your data validation journey. Our integration for Shopify currently contains integrations for PredictiveAddress, Email Validation and Phone Validation.
NOTE: Our integration will only work at checkout for Shopify Plus members. This is due to Shopify’s restriction on editing the checkout theme code.
Installation
Navigate to the Data8 Shopify app listing.
Alternatively, you can find it in the app store by searching “Data8 Checkout Validation”.
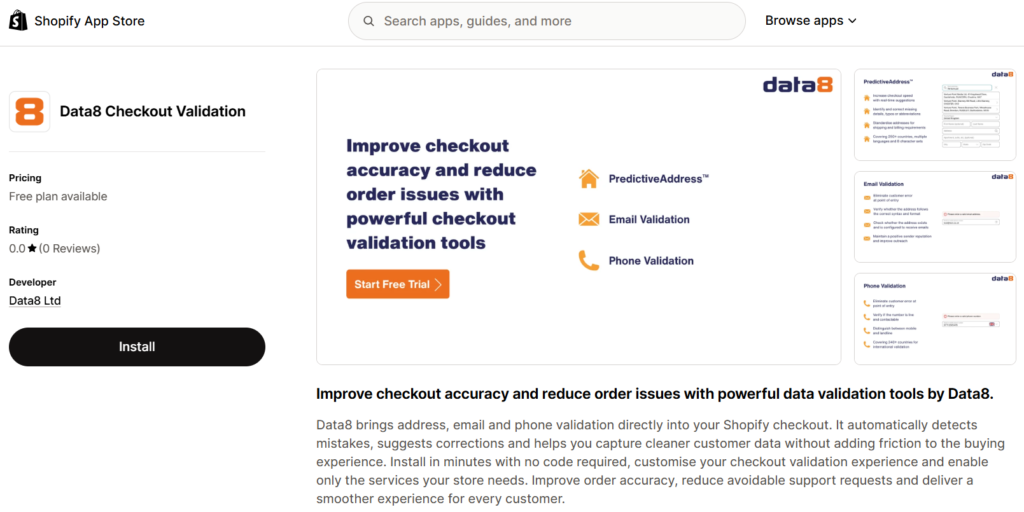
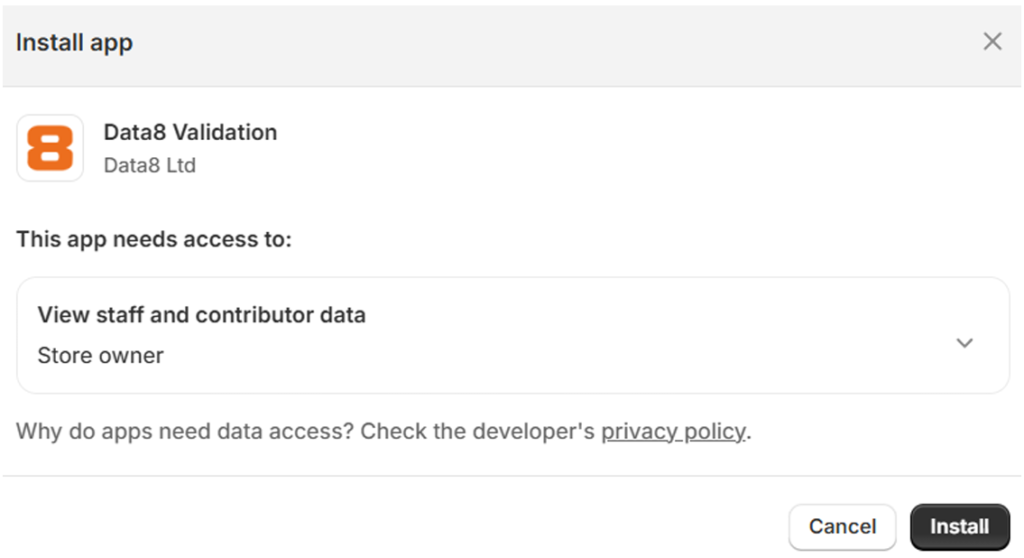
Install the app on your store by clicking Install -> Log in to your account -> Install.
Configuration
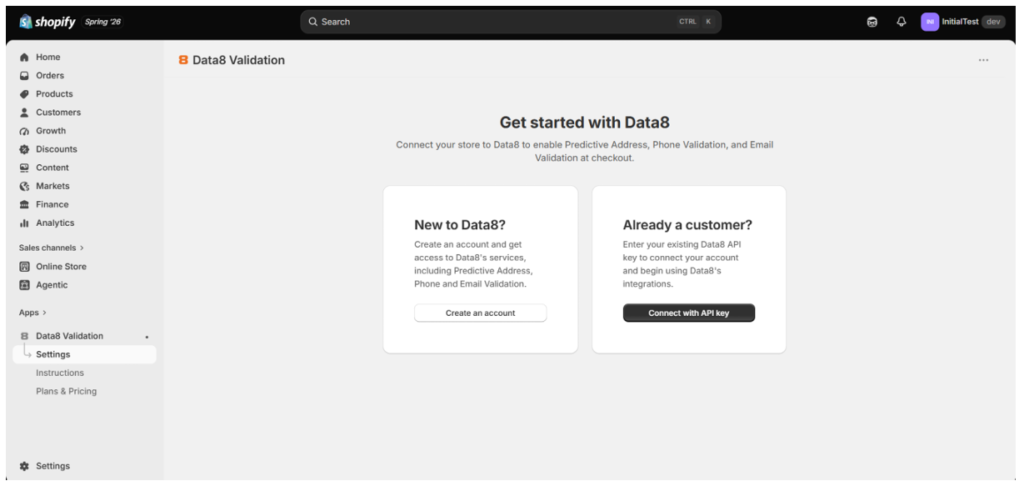
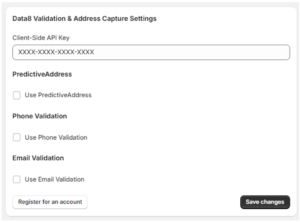
Once the Data8 app has been installed, you will be taken to the Data8 Validation settings page.
Alternatively, you can access the settings page by selecting “Settings” underneath Data8 Validation in Shopify admin. From here you can configure your settings.
New customers can receive instructions on how to register for a Data8 account and create an API key via the “Create an account” button.
Existing customers who have a valid client-side API key can select the “Connect with API key” option and enter their client-side API key to begin configuring their settings.
If an existing API key is used, users will be prompted to add “extensions.shopifycdn.com” to the list of approved domains for that API key. This can be done via the Data8 Portal.
After a valid API Key is entered, a list of options will be displayed, and you can select which Data8 services you would like to use.
PredictiveAddress Options
When the PredictiveAddress service is enabled, the PredictiveAddress Options box will become visible. This box can be left blank to use the default configuration of PredictiveAddress.
However, should you wish to customise your integration, you can do so by entering any combination of the options available for the PredictiveAddress service.
For example, enter the following into the PredictiveAddress options box to detect the initial country in the PredictiveAddress search from the user’s IP address: initialCountry: auto
When using multiple options, they should be separated by a comma, for example: fallbackCountry: GB, preferredLanguage: cy
Phone Validation Options
You can use any of the options available for Phone Validation by adding them to the Options box which will become visible when Phone Validation is enabled.
For example, enter the following into the Phone Validation options box to invalidate any unlikely numbers, even if they are technically valid, such as 07000000000: ExcludeUnlikelyNumbers: true
Email Validation Level
When the Email Validation checkbox is ticked, Email Validation will be applied with a default setting of “Address level” validation.
Validation Setup
Once you have your settings configured, to add validation, navigate to Settings -> Checkout -> Edit -> Add Block, and then select “Validation” under the “Data8 Validation” header.
By default, there may be an error stating “This app may be misconfigured”. To solve this, select the “Validation” block, and select “Allow app to block checkout”.
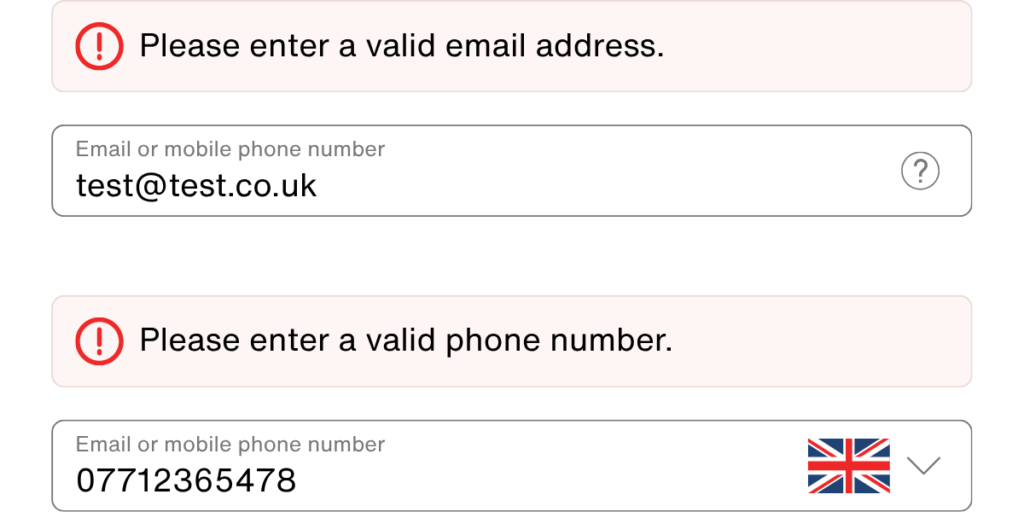
Error messages will be displayed from the location that the block is positioned at during this step. Once the block has been placed in your desired location, click save. Validation should now be applied to checkout.
As standard, validation will run whenever focus is taken away from the “Email or mobile phone number” box, when an updated input is entered.
Upon entering an invalid email or phone number, checkout will be blocked for the user, until a valid value has been entered.
PredictiveAddress™ Setup
The Data8 App can be used to provide PredictiveAddress™ to the checkout page.
To enable PredictiveAddress™, navigate to Settings -> Checkout -> Edit -> Add Block, and then select “Predictive Address” under the “Data8 Validation” header.
Place the block in your desired location, and then click “save”. PredictiveAddress™ should now be enabled.
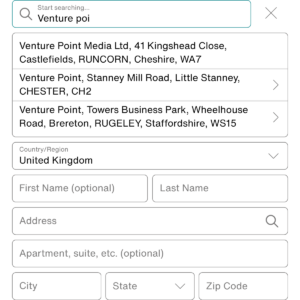
Once PredictiveAddress™ has been enabled, an additional text field will be placed on the checkout page. To change the country, the default Shopify country field can be used. Once a user begins typing into the “Start searching…” field, a dropdown list will appear. Any address where DrillDown is available will be signified by an arrow on the right-hand side of the address label. Upon selecting an address, the full address will populate the Shopify address fields.