Adding Validation Fields to Cards
To see the validation results, some fields will need to added to the card.
- Open the card where that the validation was set up on.
- Select the settings cog in the top right of the Business Central window, choose Design, and then select + Field.

- Drag the validation result and last validated fields below the email or phone field being validated.
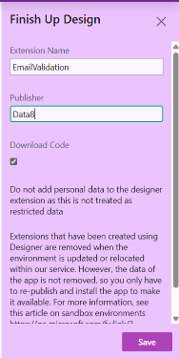
- Select Done to close the design panel and save the extension with an appropriate name.
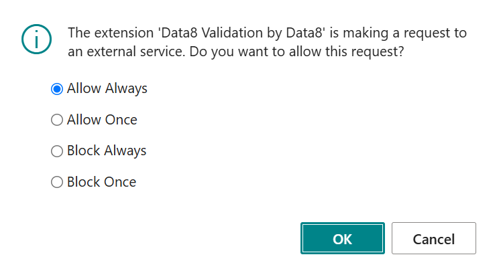
- When preforming the first validation, you may be shown the following warning. This is because when a validation is preformed, we need to call the Data8 web service which is outside of Business Central. Selecting Allow Always will allow these requests to be made in the future without this warning.
Tip: Hover over a field in the list to confirm the field mapping name; for example, a Last Validated field may display as “Also known as Email Last Validated”.
Capacity: By default, the extension provides enough fields to support two email fields or two phone fields on each compatible table.
After completing these steps, the selected Business Central records will display validation status and last validated information for the configured email or phone fields.
Revalidating
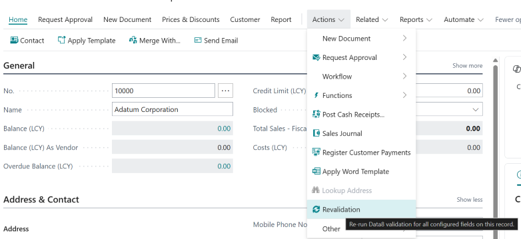
For any cards with a field mapping set up for it, there will be an option to revalidate any email and/or phone numbers under Actions > Revalidation.